Conversion Process
A step-by-step guide
Setting out on your camper van conversion is an exciting journey, and we're here to guide you through every stage. Our process makes for a seamless and transparent experience, transforming your wildest ideas into a fully-functional and visually appealing camper van that's truly built for you. Below, we've outlined each step, from van design to the finishing touches, so you know exactly what to expect as your dream van comes to life.
Step 1
Camper van design
This is where the journey truly starts. You’ll sit down with our team for a consultation in which we’ll explore every element of the conversion in depth. Since every build is unique, we’ll take the time to understand exactly how you’ll use your van.
Then it’s on to camper van design. We’ll chat about colours, from the floor and furniture to the upholstery and carpets, to make sure that everything aligns with your style. This is where you’ll truly start to get a sense of the finished product.
Of course, we’re always happy to advise on which materials will work best together. After all, working on hundreds of camper vans certainly comes with a good deal of insight when it comes to van design.
Next, we’ll discuss the vehicle exterior and any extras you’d like to include. We can install anything from awnings and multi-rails to headlight upgrades and body kits for some additional visual flair.
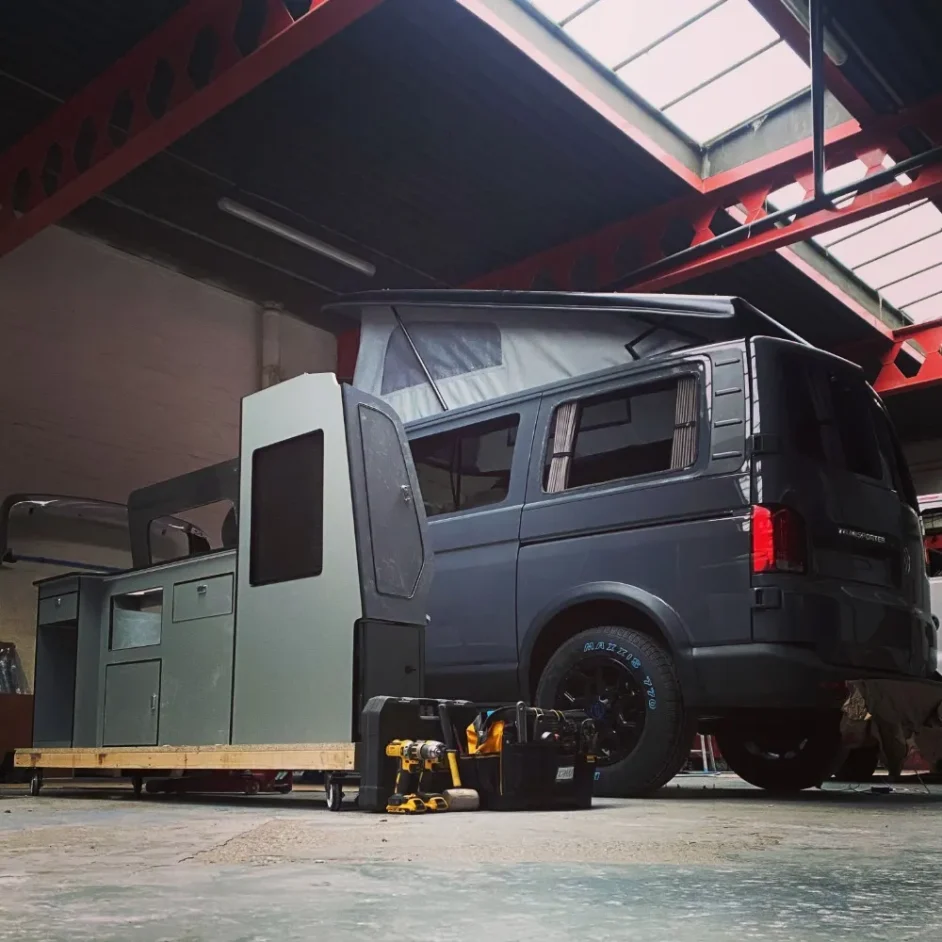
Step 2
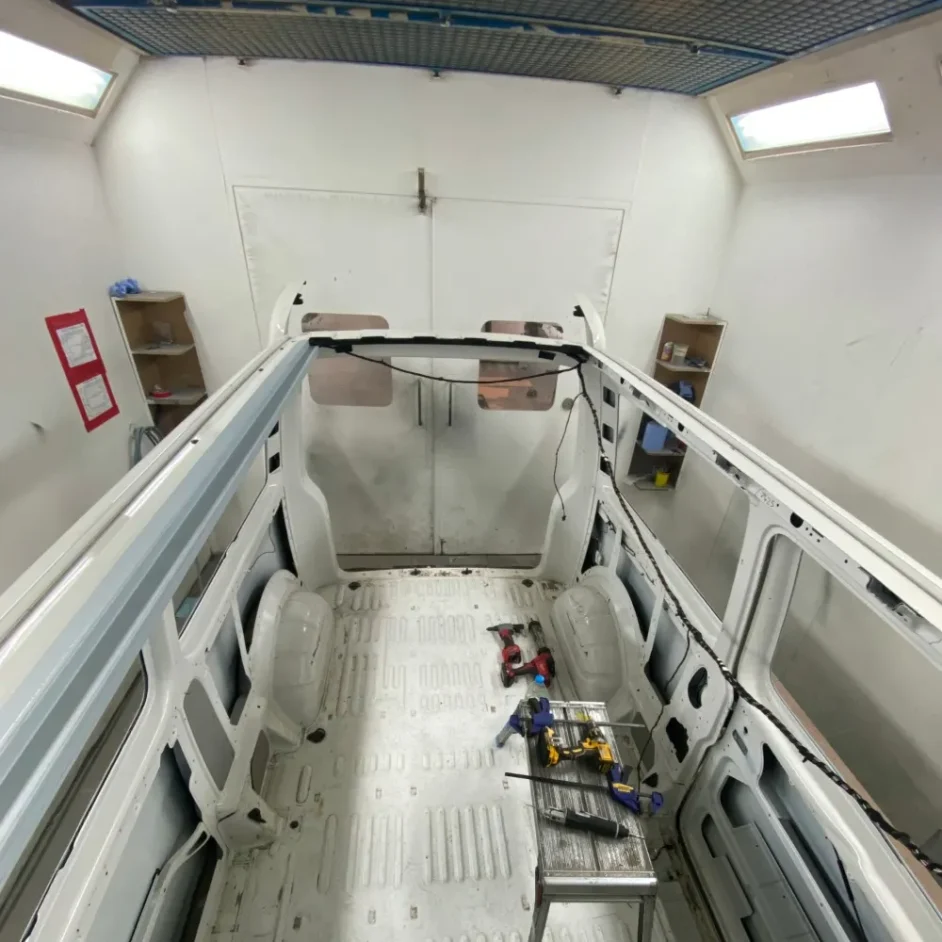
Vehicle preparation and cut-out
Now that your camper van design’s been finalised, the conversion magic truly begins. Our team will conduct a thorough inspection of your vehicle, assessing the condition of its body and trim, as well as conducting comprehensive diagnostics.
This guarantees that your van will be returned to you in the same condition it arrived to us. Following this, we’ll carefully remove and securely store internal panels ahead of later refitting. We’ll also measure and mark sections for cutting and drilling during the conversion.
In order to make sure your van is protected from that classic British weather, our team will deburr all exposed metal edges and treat them with primer, so you can rest assured your van will be kept in immaculate condition throughout the project.
Step 3
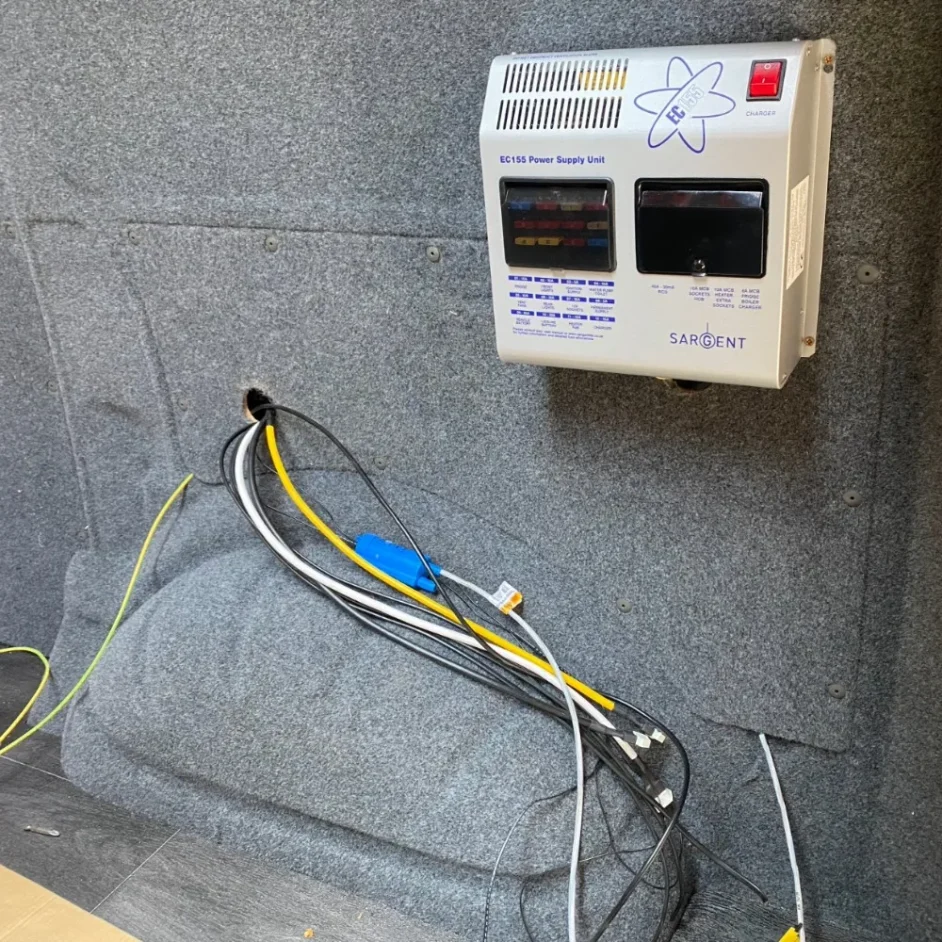
First fix electrics
This is where your camper van really starts to take shape behind the scenes. We’ll begin by running the main wiring throughout the van, creating the foundations for everything from your leisure battery to your solar setup. Every wire is carefully sized and routed to avoid voltage drops and ensure long-term reliability.
We secure each connection neatly and safely, avoiding the risk of wear or rattling later down the line. Before we sign off this stage, we check every fitting against manufacturer guidelines. It’s a crucial step, and one we take seriously, because a dependable electrical system is at the heart of every great camper van conversion.
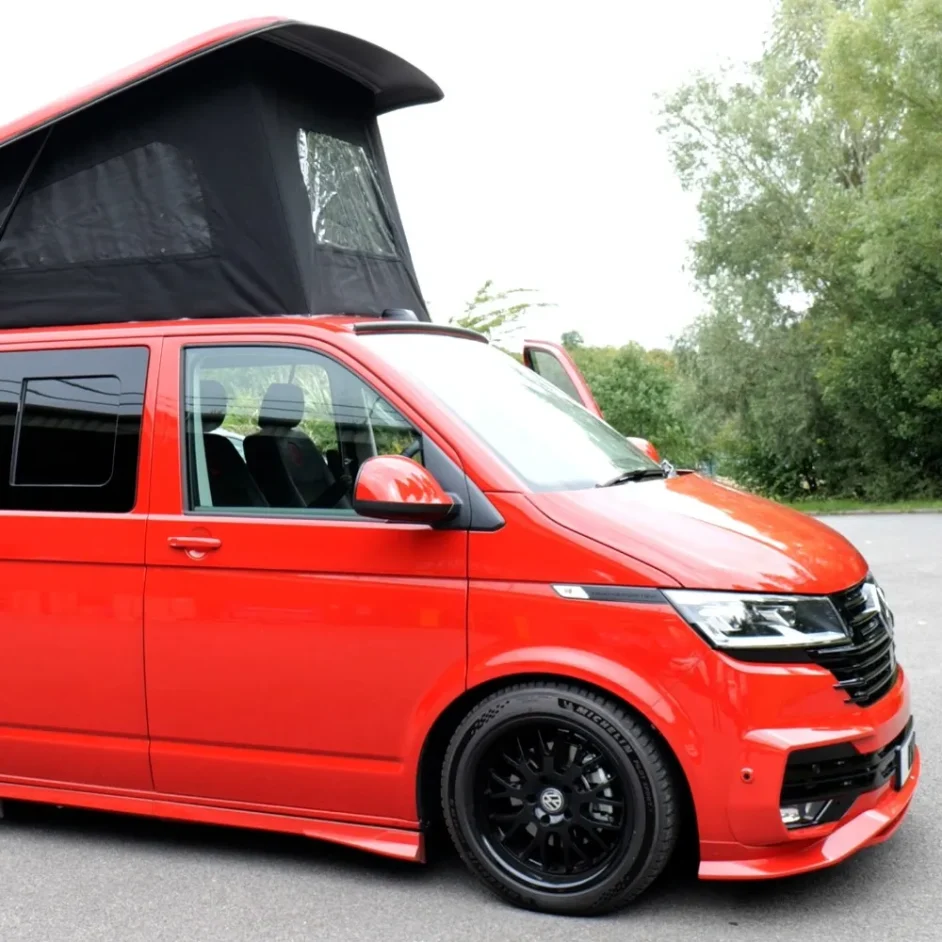
Step 4
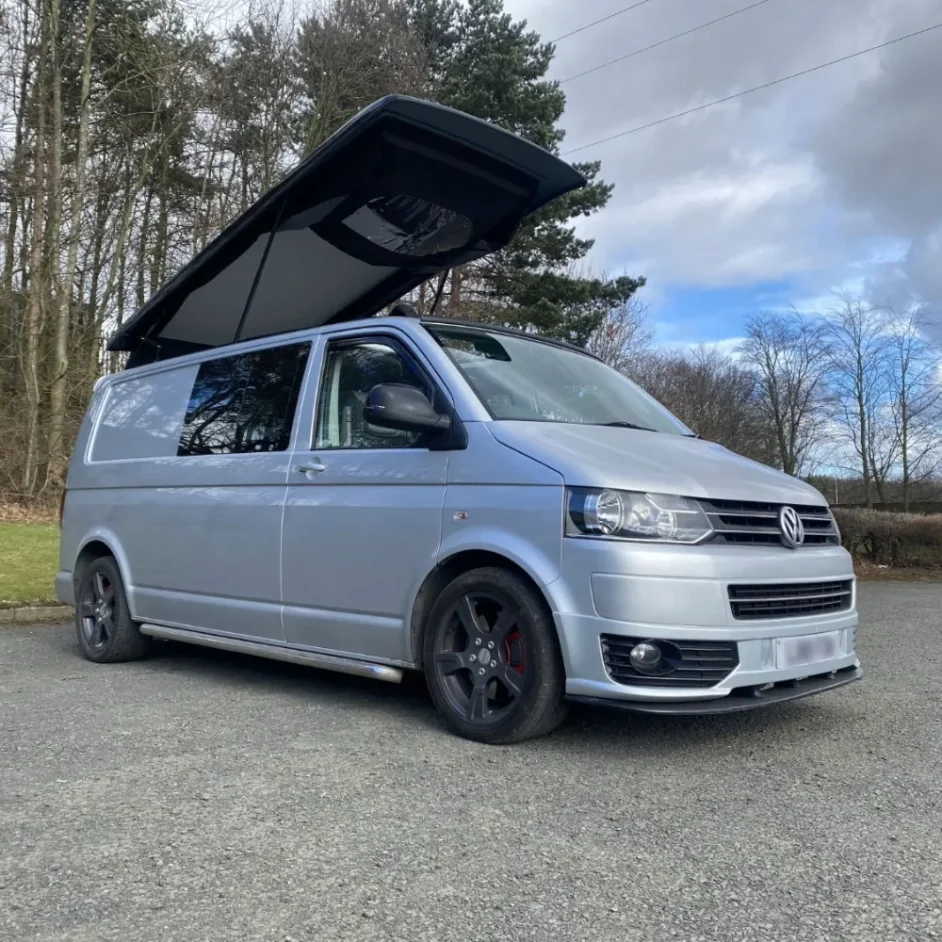
Pop top roof installation
Fitting the pop top roof is one of the most transformative parts of van design. We work with trusted suppliers, including Skyline, and will recommend the best option for your budget, your van model, and how you plan to use it.
Installing an elevating roof is a precision job that demands time, skill, and pin-point accuracy. Working to tight tolerances, we take a meticulous approach from the initial cut to the final sealing.
Using high-quality materials throughout ensures your new roof not only looks great, but operates smoothly for years to come. It’s a major upgrade, and once it’s in place, your camper instantly feels brighter and roomier.
Step 5
Carpet lining and insulation
With the roof framework complete, we turn our attention to transforming the van’s interior feel with carpet lining and insulation. This is one of the biggest visual shifts in the whole build, swapping exposed metal for a smooth, soft finish that instantly feels more like home.
Before applying any lining, however, every surface is cleaned and keyed with a scotch pad to ensure the trim spray bonds perfectly.
Insulation then goes in to regulate temperature throughout the year, keeping the van cooler in summer, warmer in winter, and much quieter whether you’re cruising the motorway or settling down for the night.
Step 6
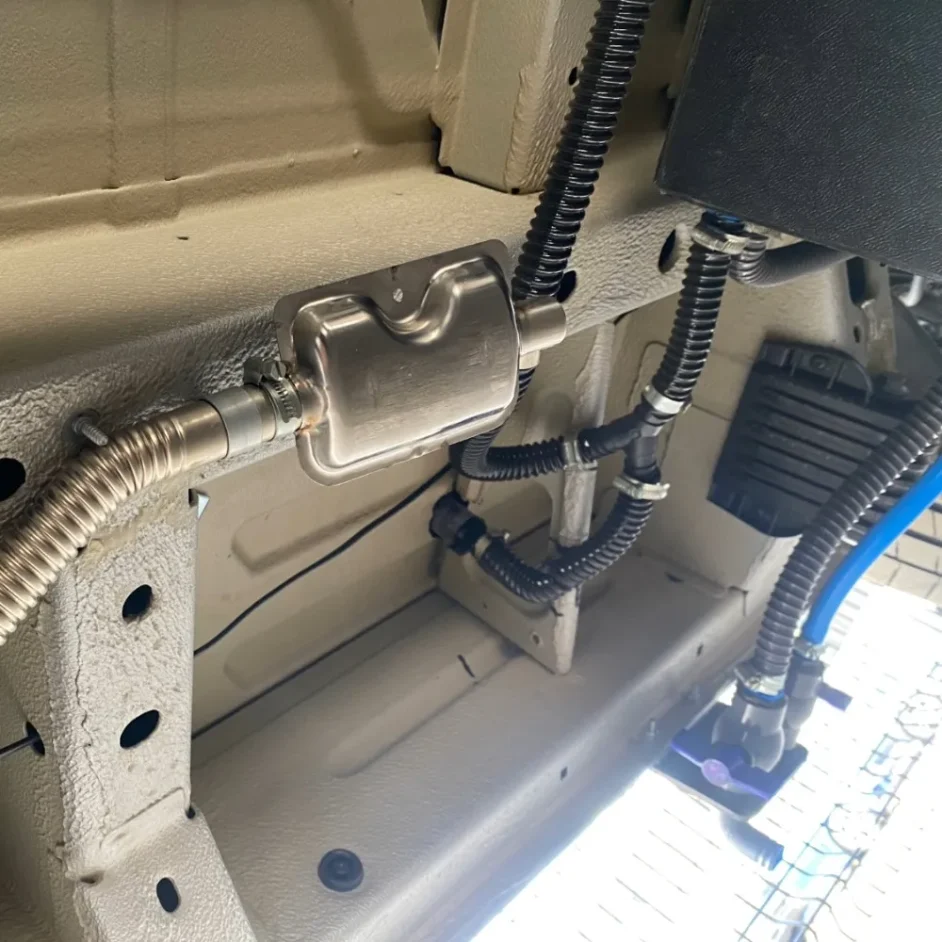
Heater installation
A reliable heater can make all the difference to year-round comfort, so we take extra care with this stage. We raise the van to install an externally mounted heater – a clever approach that keeps your interior storage space fully available for the essentials you’ll be travelling with.
Whether you’re opting for a diesel Planar/Eberspächer or a Propex gas heater, we’ll guide you to the best fit for your needs. Every unit is installed exactly to manufacturer standards to ensure safety and efficiency.
While the vehicle is elevated, we also take the opportunity to fit any extras such as suspension upgrades or side bars, helping streamline the process and keep your build moving along smoothly.
Step 7
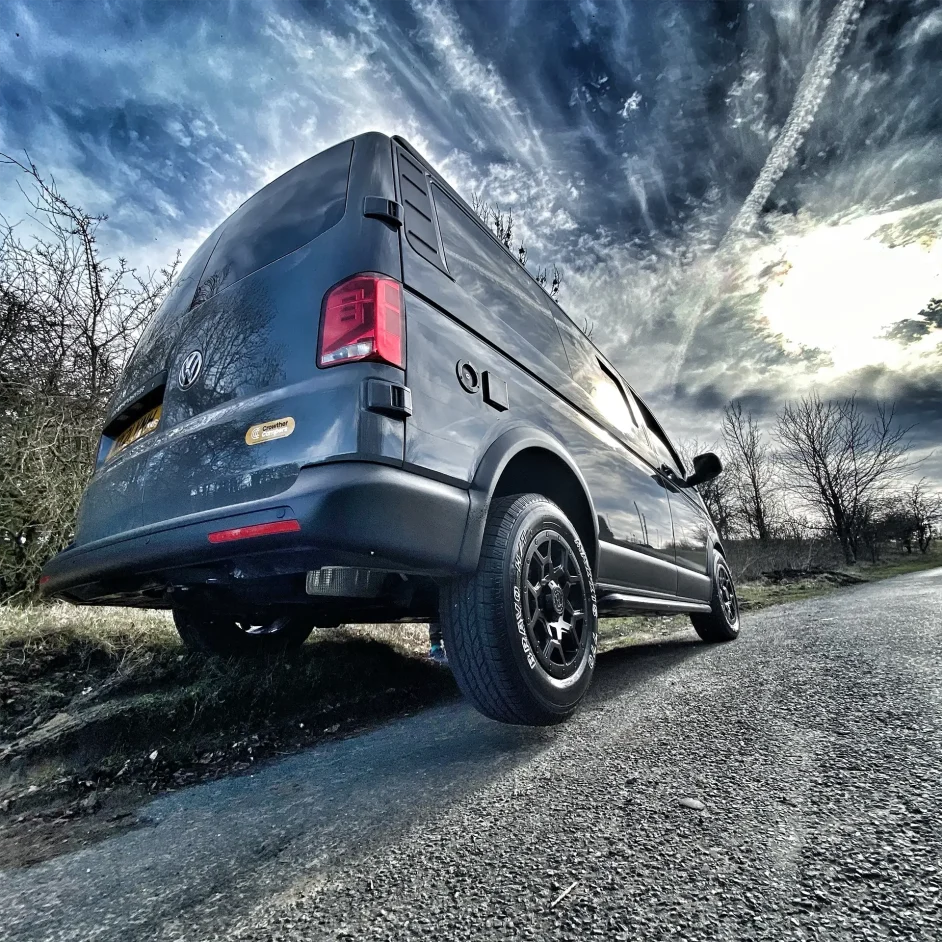
External styling
Now it’s time to add personality to the outside of your camper van. At this stage, we’ll install any exterior upgrades you’ve chosen, whether that’s a wind-out awning for extra living space, upgraded wheels, or more subtle styling accents.
We only work with OEM parts or trusted aftermarket brands that meet our quality expectations, so whatever you choose, you can be confident it’ll look sharp and perform flawlessly. These finishing touches help make your camper feel truly yours, inside and out.
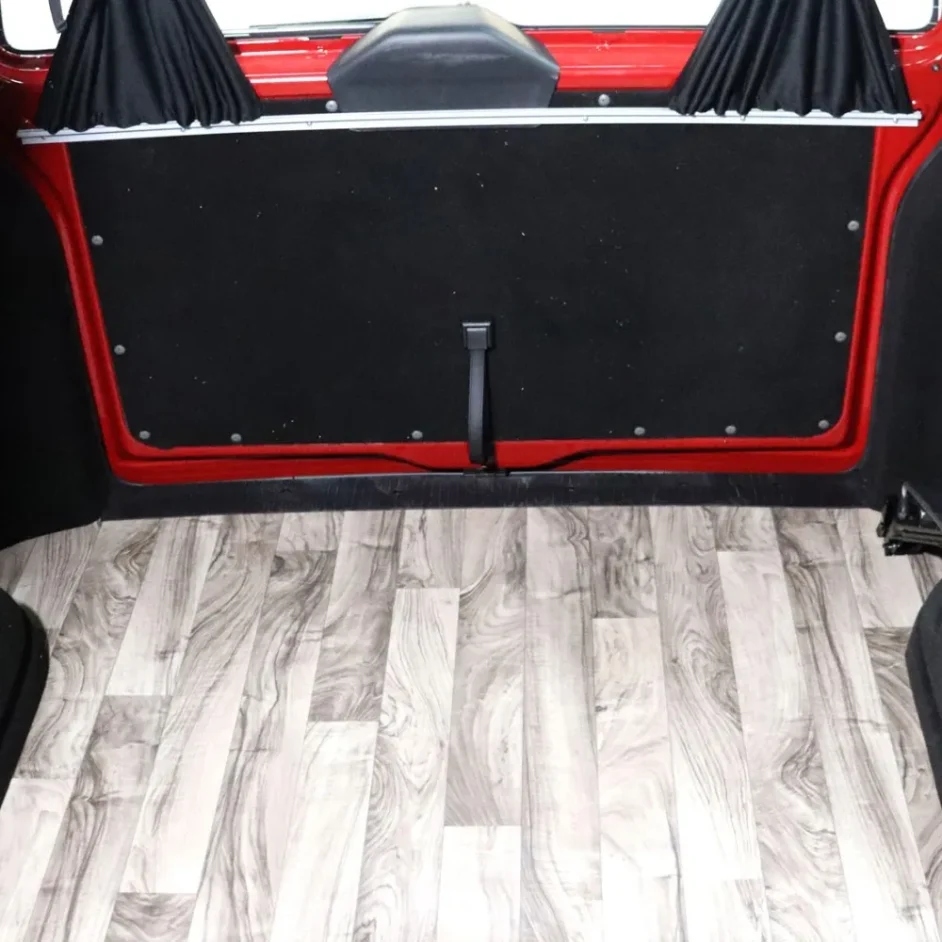
Step 8
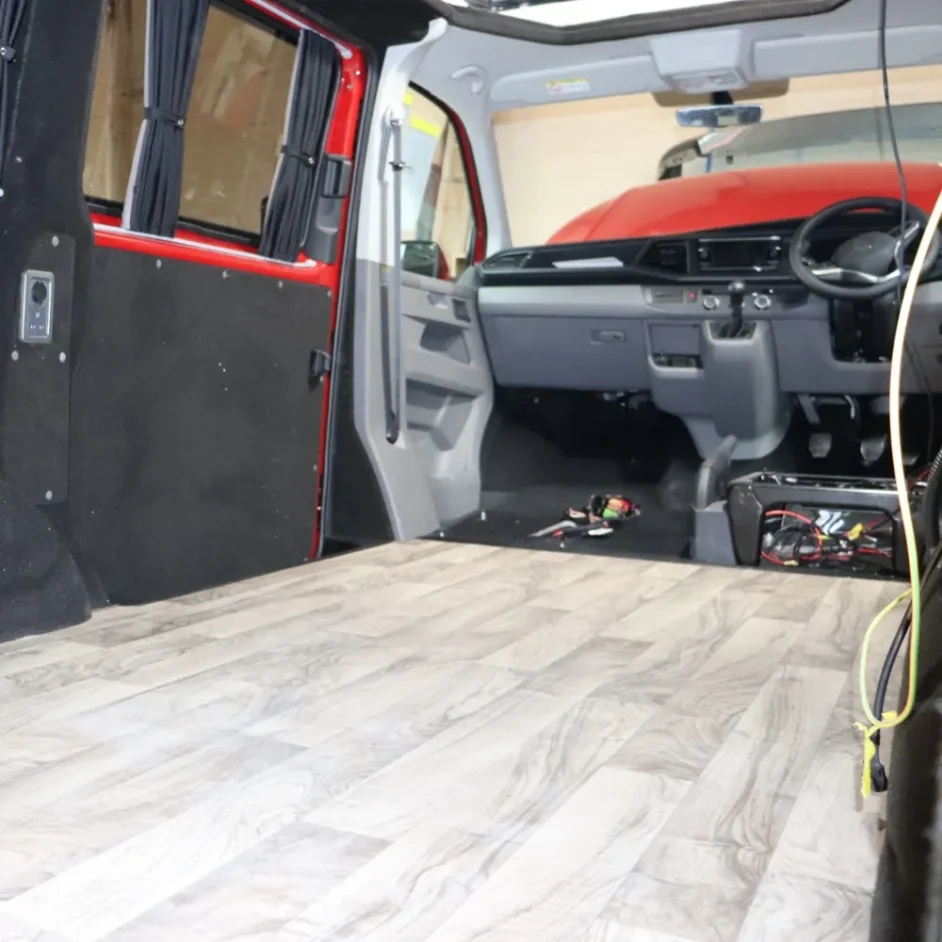
Flooring and trim reinstallation
Next, we install a one-piece CNC-cut 12mm plywood floor, fixed using specialist adhesives so no screwheads become visible over time. This creates a solid, precise base for the final floor covering.
Once secure, we fit the chosen finish, whether that’s safety-floor lino or a more decorative option to suit the interior design. Finally, the headliner and trim panels are reinstalled, giving the interior a clean, finished look and bringing the space together.
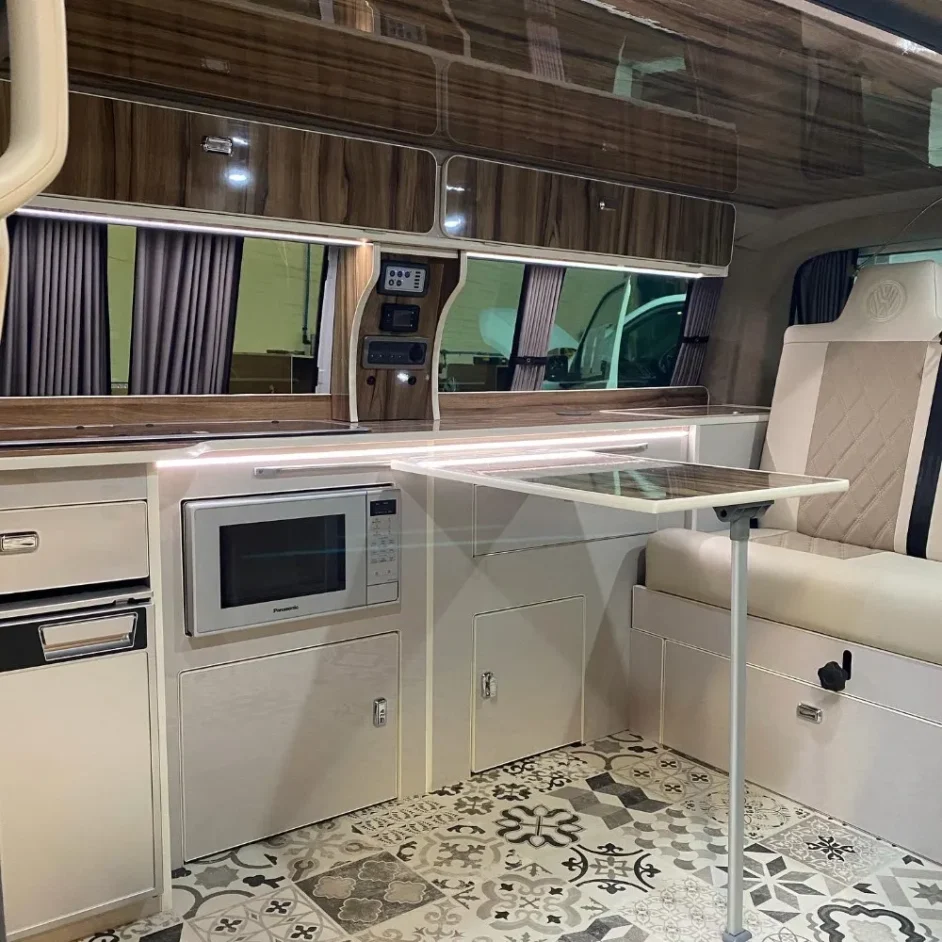
Step 9
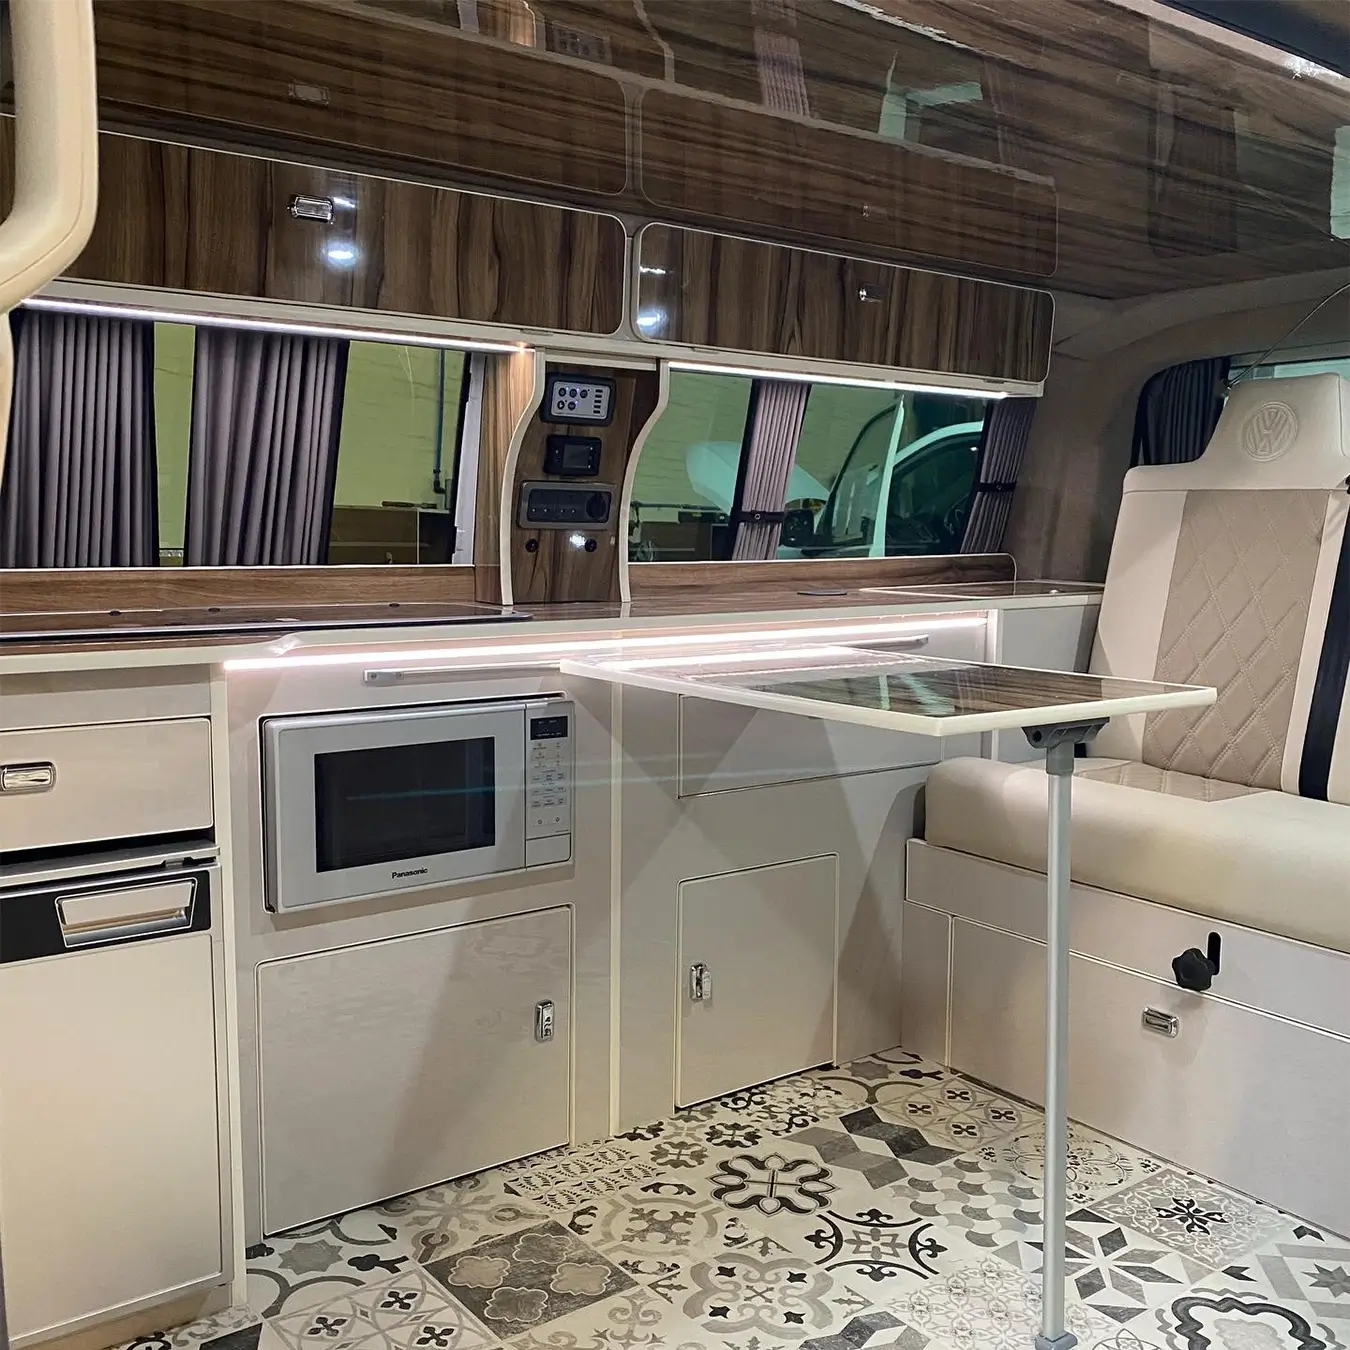
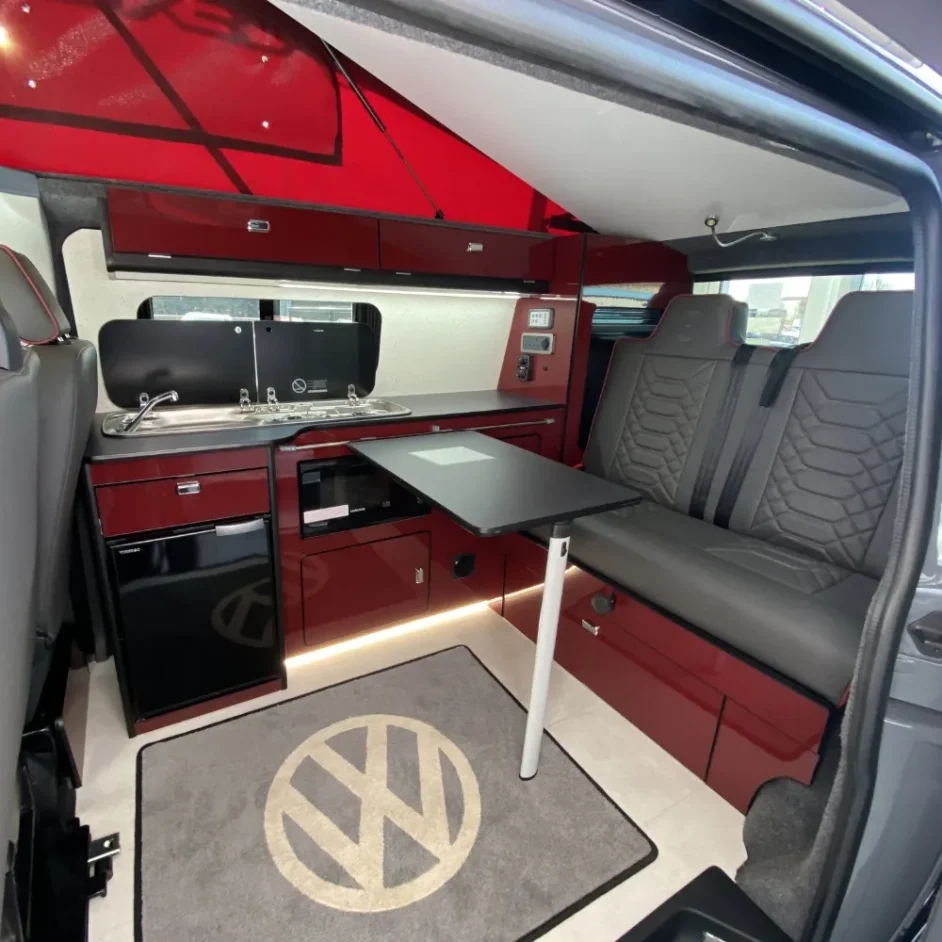
Furniture kit installation
With access to high-end woodworking machinery, including overhead and twin-axis CNCs, edgebanders, and heated presses, we’re able to create accurate, high-quality components tailored to your camper van design.
Alongside the team’s decades of hands-on experience, this ensures every piece is produced and fitted to a consistently high standard. Once the furniture kit is installed, the layout takes shape and the conversion begins to resemble its final form.
Step 10
Second fix electrics
Once the furniture kit is in, we return to the electrics to bring everything to life. This is where your lights, switches, control panels, and charging systems are wired up and tested. We also install the electrical management system, along with the smart B2B charger and solar controller if included in your design.
Every component is connected using correctly sized wiring to ensure safe, efficient power throughout your camper. This stage pulls together the full electrical system, transforming the van from a shell with wires into a space where everything works exactly as it should.
Step 11
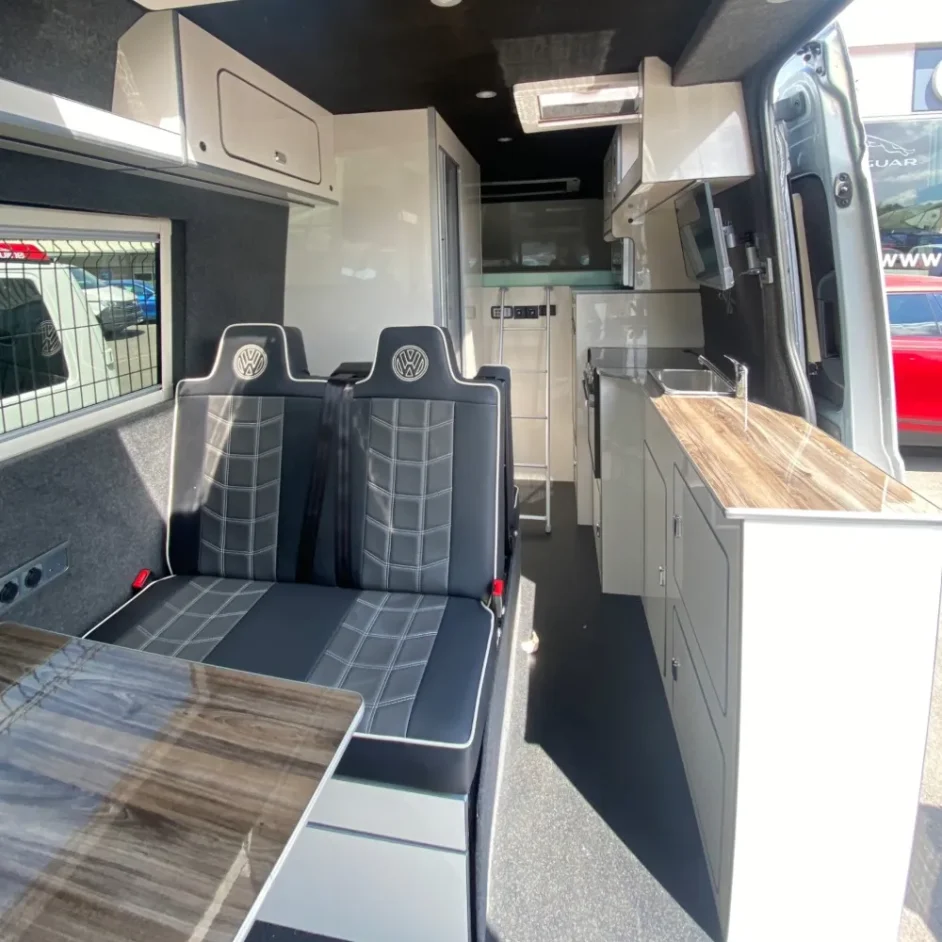
The finishing touches
With everything installed, from the bed and upholstery to the last pieces of glass, your camper van is nearly ready to hit the road. This is one of the most satisfying stages, as the whole build finally comes together into a complete, fully fitted space.
We give the van a deep, detailed clean before beginning our thorough quality-control checks. Every fitting, fixture, and system is inspected and tested so you can set off with total confidence. Only when we’re completely satisfied do we hand over the keys, ready for your first adventure.